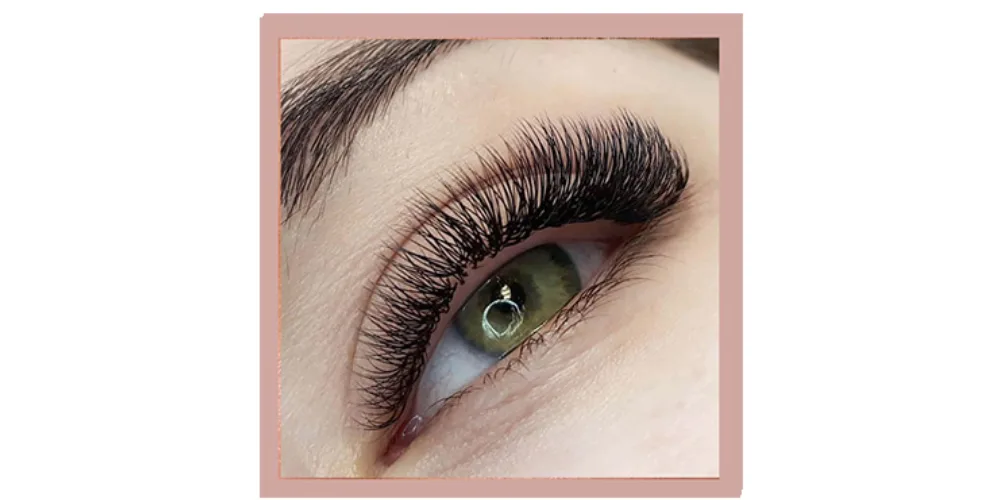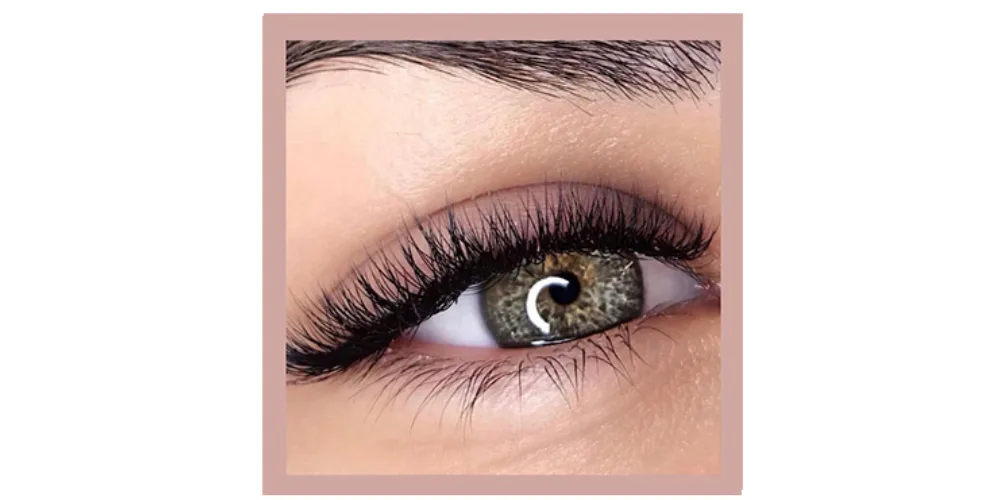

So you’ve booked your eyelash extension appointment and now you’re feeling a little nervous? That’s normal. Especially if it’s your first time and you don’t know what happens during lash extension appointments? This article will guide you through each stage of eyelash extensions – from preparation to the final check.
Here’s what you’ll know after reading this article:

The author of the article
Ruzanna, 17 years of experience!
May 28, 2025
| Section | Read to |
|---|---|
 Preparation for the Procedure Preparation for the Procedure |
How both the client and the lash artist should prepare for the extension session for the best results and client comfort. |
| Core Application Steps |
A detailed description of each step: cleansing, isolating lower lashes, lash mapping, priming, the main lash application process (isolation and attaching), glue curing, and checking for stickies. |
| Duration of Procedure |
How long does lash application take? for a full set (classic, volume, etc.) and a fill. |
| Sensations During the Procedure |
What to expect during the session, whether it should hurt, and how to ensure maximum comfort. |
| Professional Equipment and Tools Used |
An overview of the main equipment and materials used by a lash professional for applying eyelash extensions. |
Preparation Before the Extension Procedure
Before you settle into the lash artist’s chair, proper preparation is crucial. This helps make the procedure as comfortable and effective as possible.
What should the client do before the visit?
-
Arrive without makeup. It’s especially important to have no mascara or eyeliner. Cosmetic residue can interfere with secure lash bonding for the eyelash extensions.
-
Remove contact lenses. Your eyes will be closed for a long time, and lenses might cause discomfort.
-
Avoid caffeine (a few hours before the visit). It can cause eyelid tremors.
-
Dress comfortably. You’ll be lying still for 1.5–4 hours.
Preparation by the lash artist:
-
Hygiene & Sanitation.
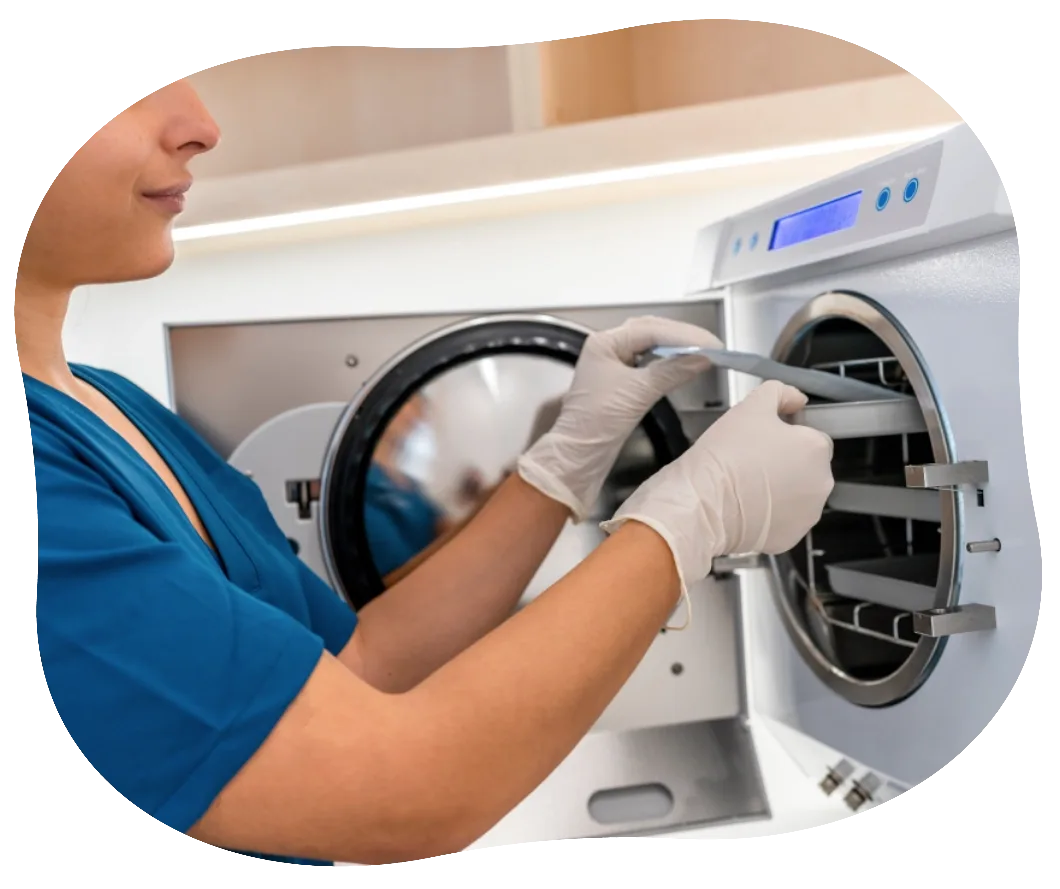
The technician thoroughly disinfects tools, especially tweezers, and the workspace. Disposable supplies are used. Adhering to hygiene standards is fundamental for a safe procedure.
-
Workspace Organization.
All materials (lashes, lash adhesive, under-eye pads, tape, etc.) are prepared in advance. This prep step is important for the lash artist.

Ruzanna
17 years of experience
Important
Proper preparation by both the client and the artist directly impacts the quality, safety, and longevity of the extensions.
Core Application Steps of the Eyelash Extension Procedure
The lash application process is a step-by-step lash application. Each of the eyelash extension steps serves a purpose. So, how do they put on eyelash extensions?
Consultation
Although detailed style selection happens during the preliminary consultation, the artist briefly confirms the design before starting. This step is important for the lash service.
Cleansing
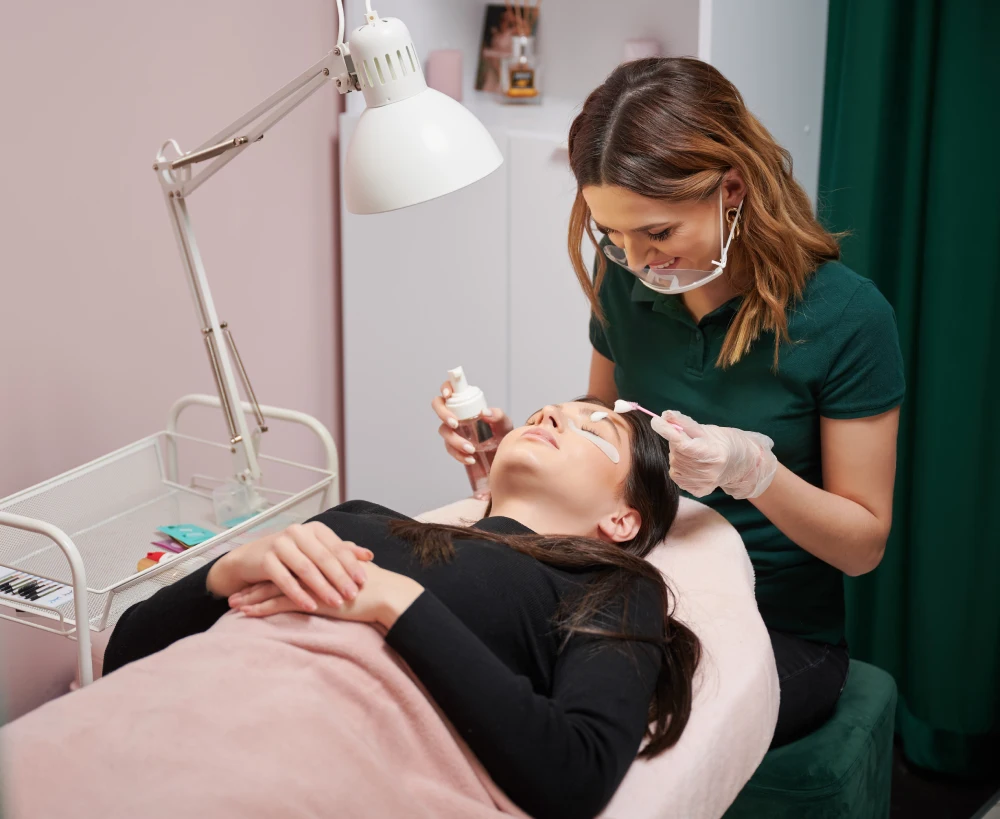
The artist thoroughly cleans your natural lashes with a special lash cleanser. This removes oils, dust, and makeup residue for better glue adhesion.
Lower Lash Isolation & Eye Pads Placement
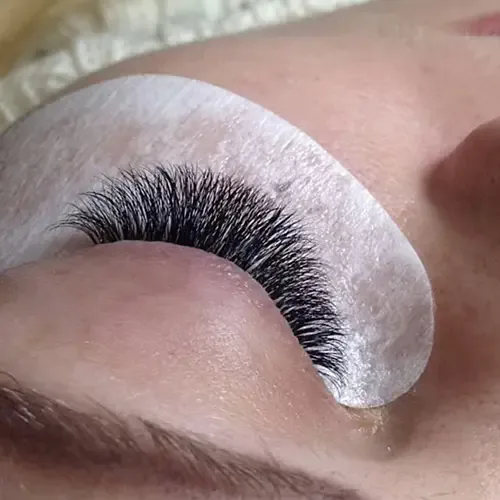
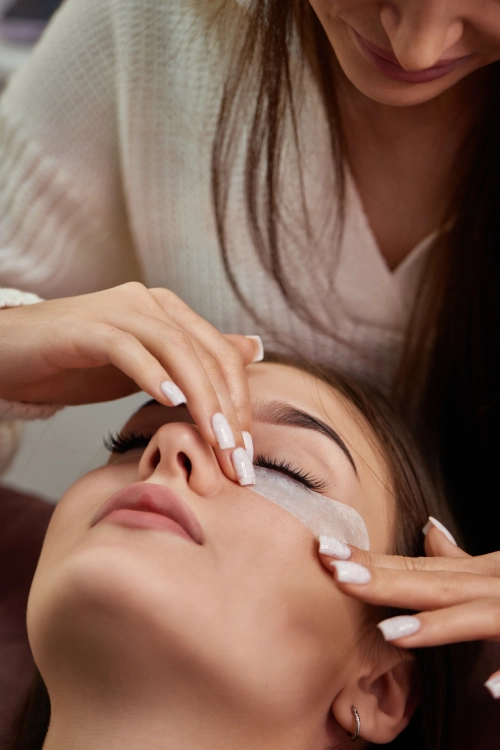
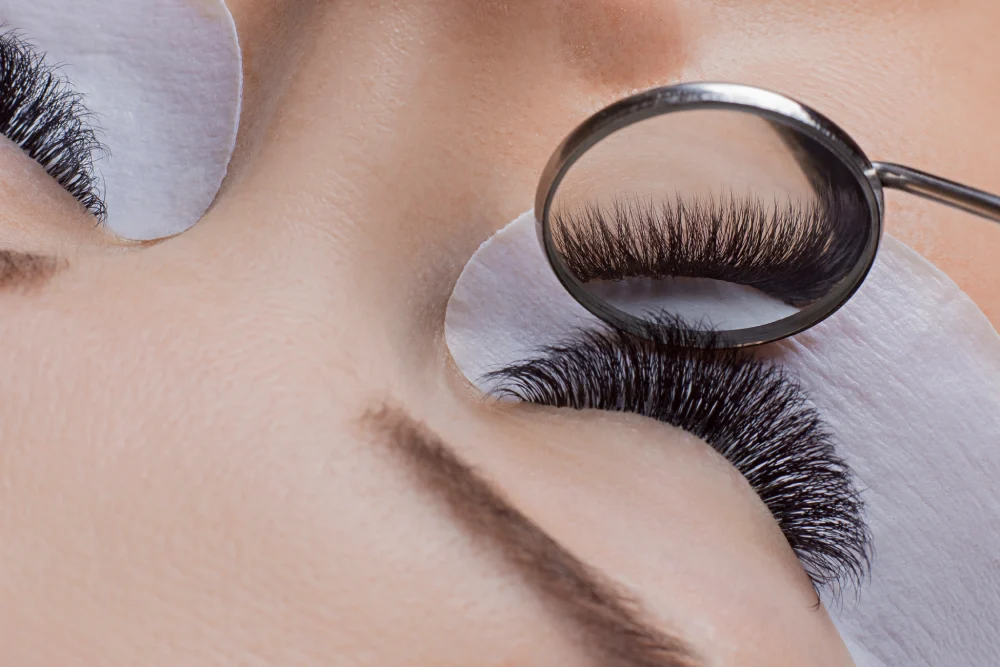
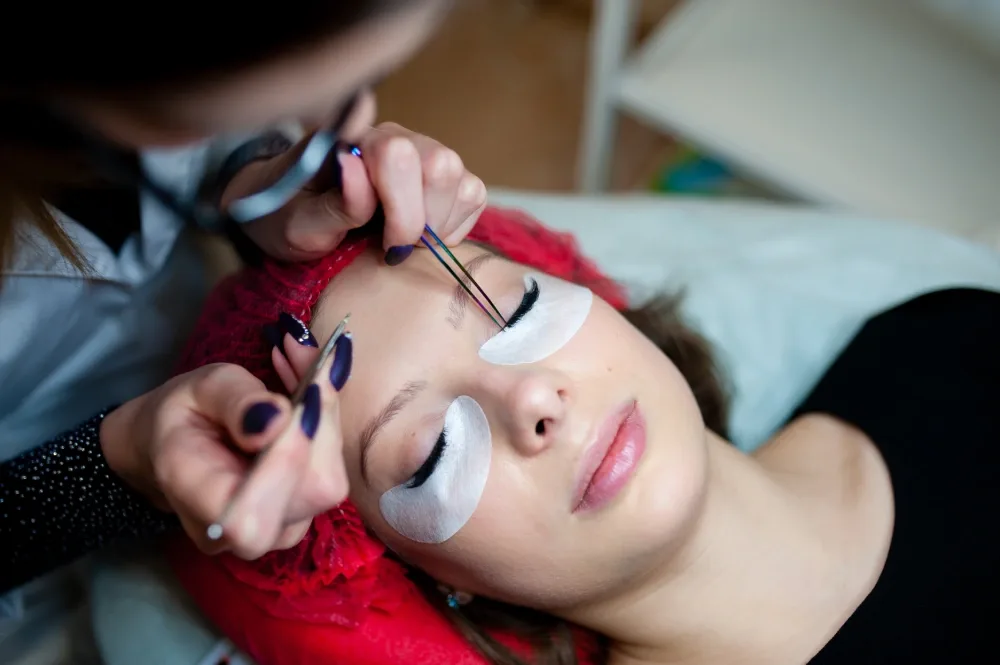
The artist isolates the lower lashes using gel under-eye pads or medical tape or paper tape to prevent them from sticking to the upper lashes.
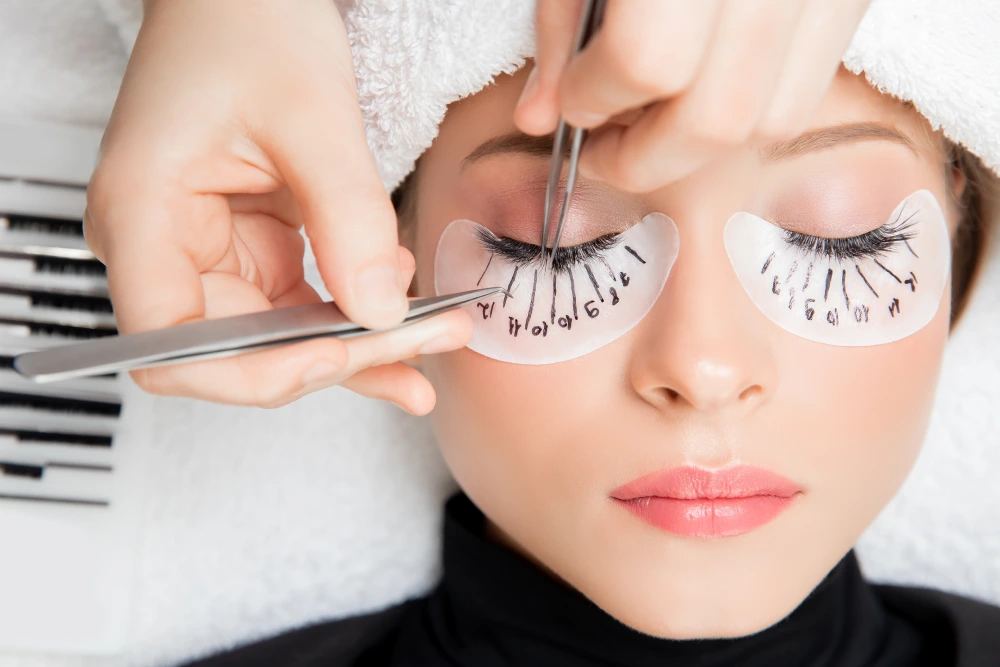
Lash Mapping
The artist might draw a Lash Map on the pads, outlining the placement of different lash lengths/curls to create a symmetrical design.
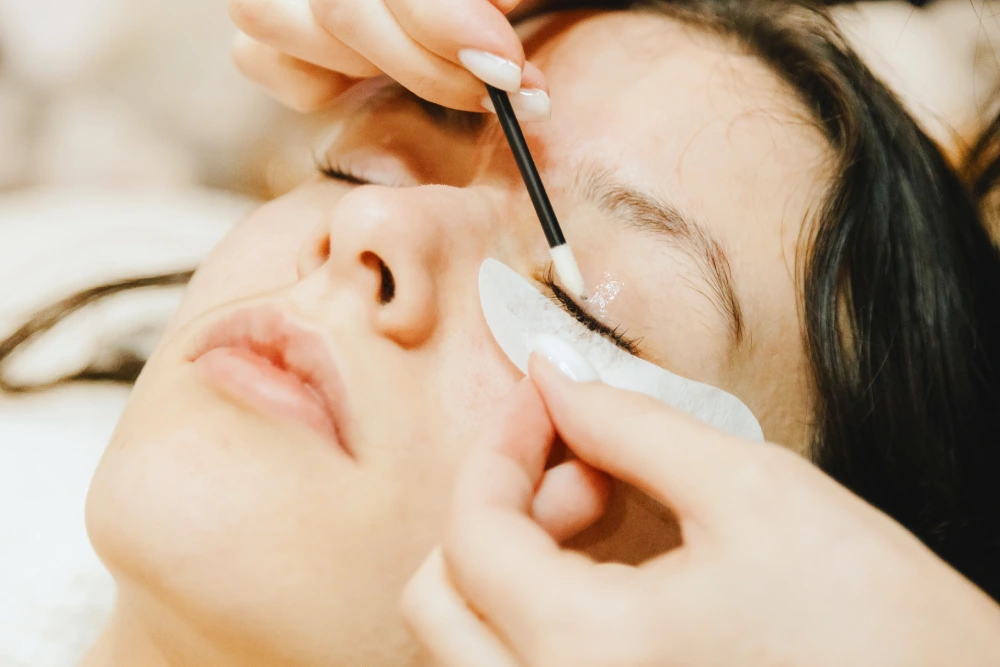
Priming (Optional)
To improve glue adhesion, a primer may be used. This lash prep stage isn’t mandatory but can extend the wear time of eyelash extensions.
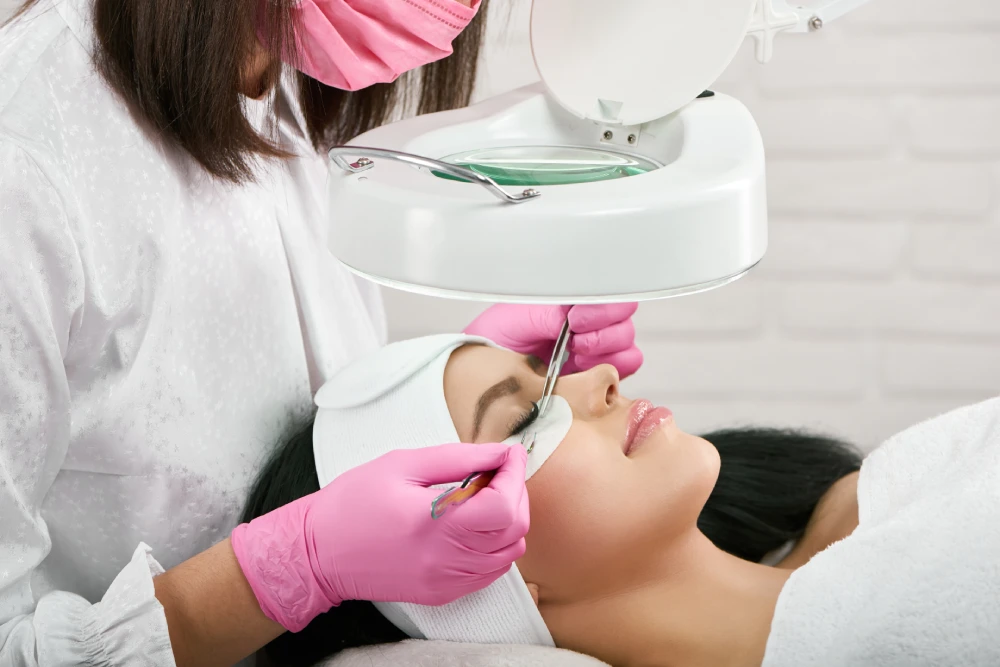
Lashing – The Main Process of Isolation & Attaching
This is the longest stage of the application appointment. How does the technician isolate lashes? It’s performed step-by-step:
- Isolating the Natural Lash. Using one tweezer, the artist carefully singles out one of your natural lashes. Proper natural lash isolation is critical to avoid stickies. Mastering the lash isolation technique is a key skill for the artist.
- Attaching the Extension. With a second tweezer, the artist picks up an extension (or a fan for volume) and lash adhesive, then carefully attaches it to the isolated natural lash, slightly away from the eyelid. This application process is repeated hundreds of times, and the lash application technique requires exceptional precision.
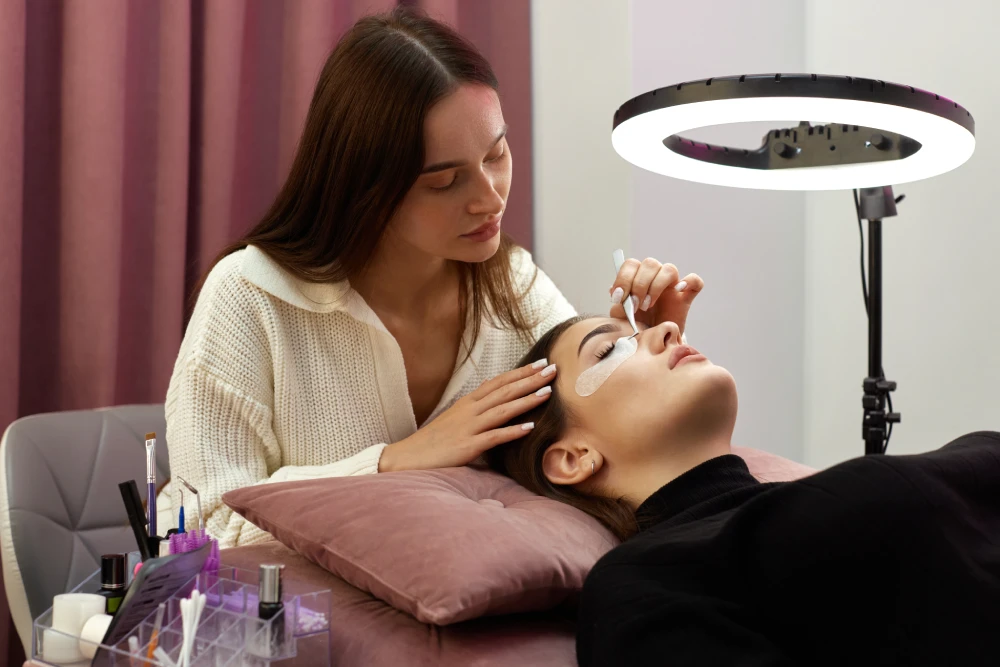
Adhesive Curing and Drying
The lash adhesive needs to dry (polymerize). To speed up drying and minimize fumes, the artist might use a fan or a nano-mister (a device spraying a fine mist of water). Proper drying and curing ensure strong lash bonding.
Checking for and Separating Stickies
A crucial final procedure step is checking for “stickies.” The artist meticulously checks with tweezers and a spoolie brush, separating any accidentally glued-together lashes. This is important for client comfort and lash health, as unseparated stickies can cause discomfort and damage natural lashes.
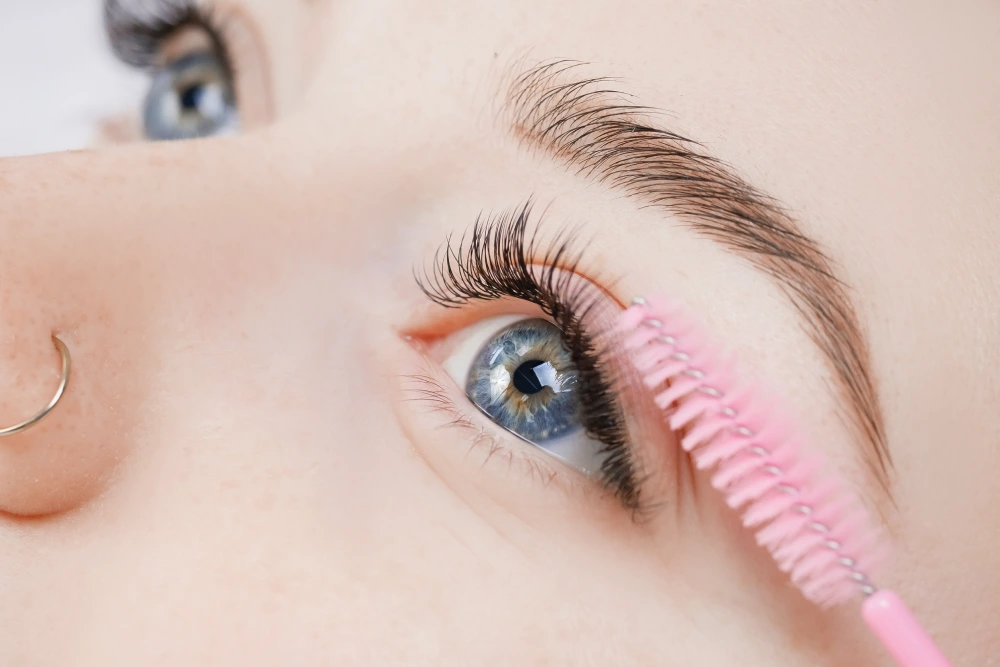
Final Check & Post-Application and Completion
The lash technician reviews the result, symmetry, and quality of work one last time. They carefully remove the pads and tape from the lower eyelids. Sometimes a bonder or sealer is applied for final fixation.

Yelena
7 years of experience
Note
Every step, from cleansing to checking, contributes to the final look, comfort, and durability of the eyelash extensions. This constitutes a professional lash application.
Duration of Procedure
The total duration of procedure depends on the style, the density of your natural lashes, and the artist’s experience. How long does a lash application take?
Table: Approximate Lash Application Times
| Extension Type & Procedure | Approximate Duration |
|---|---|
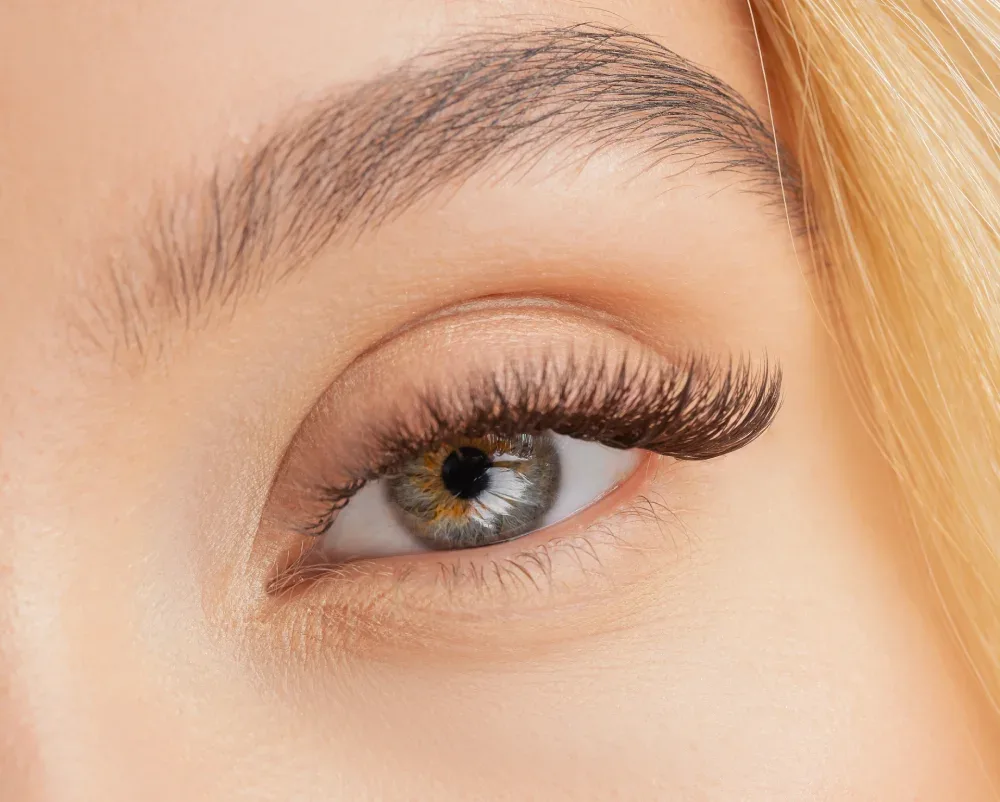
Classic (1D). |
1.5–2 hours |
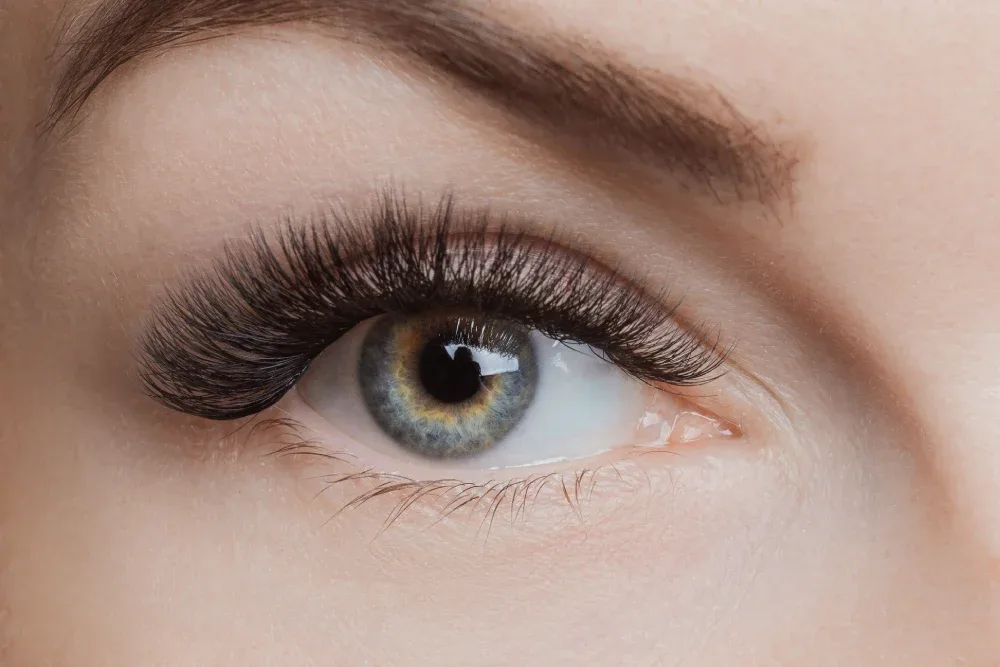
Volume (2D-5D). |
2–3 hours |
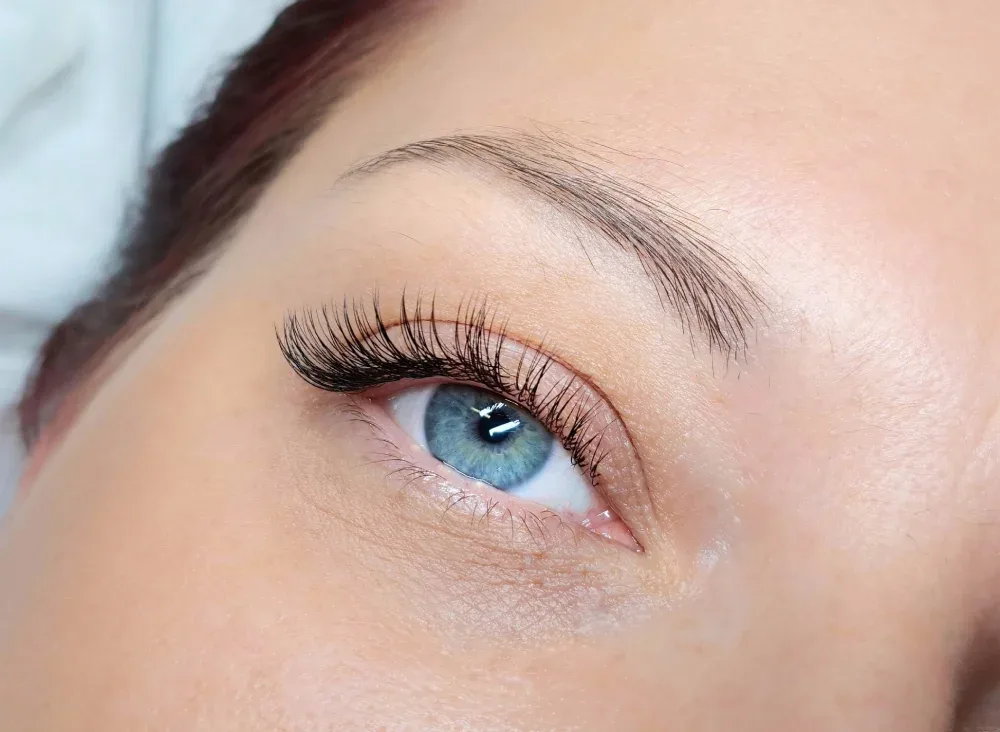
Hybrid. |
2–2.5 hours |
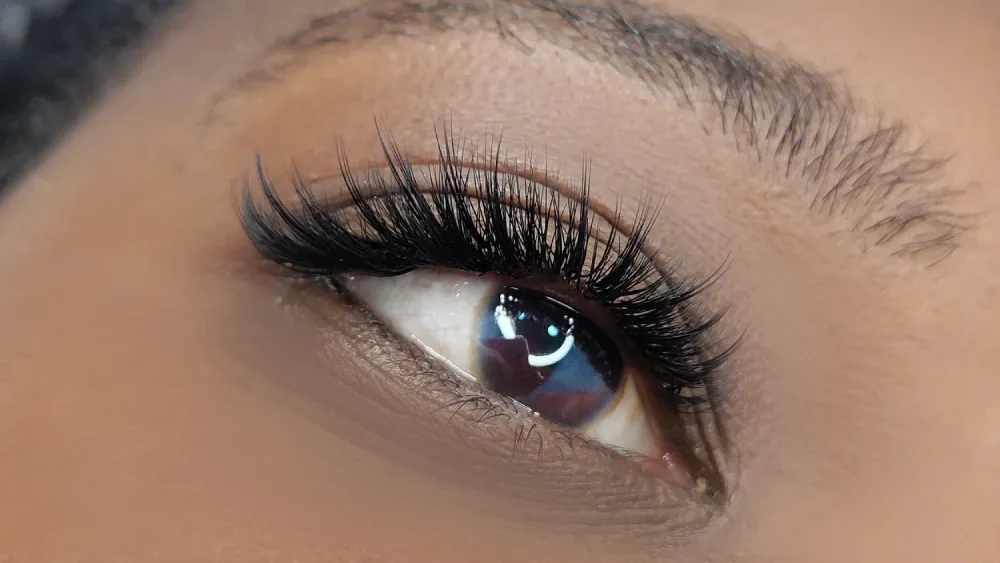
Mega Volume. |
2.5–4+ hours |
Fill & Refill. |
45 minutes–1.5 hours |

Kerstin
5 years of experience
Note
The duration of a fill depends on the condition of the lashes. Details about the correction procedures are described separately.
Sensations During the Procedure
An important part of preparation is understanding what you might feel, ensuring client comfort:
Comfortable Position.
You’ll be lying on your back with your eyes closed for the entire session.
No Pain.
Correctly performed extensions are completely painless.
Light Touches.
You might feel light touches from the tools on your lashes or slight pressure from the under-eye pads or tape.

Natasha
12 years of experience
Important
Mild tearing or slight redness immediately after the procedure can be a normal reaction for some people, but significant pain or burning is a sign something is wrong. Don’t endure discomfort; inform your lash artist immediately.
Professional Equipment and Tools – What Tools Do Lash Techs Use?
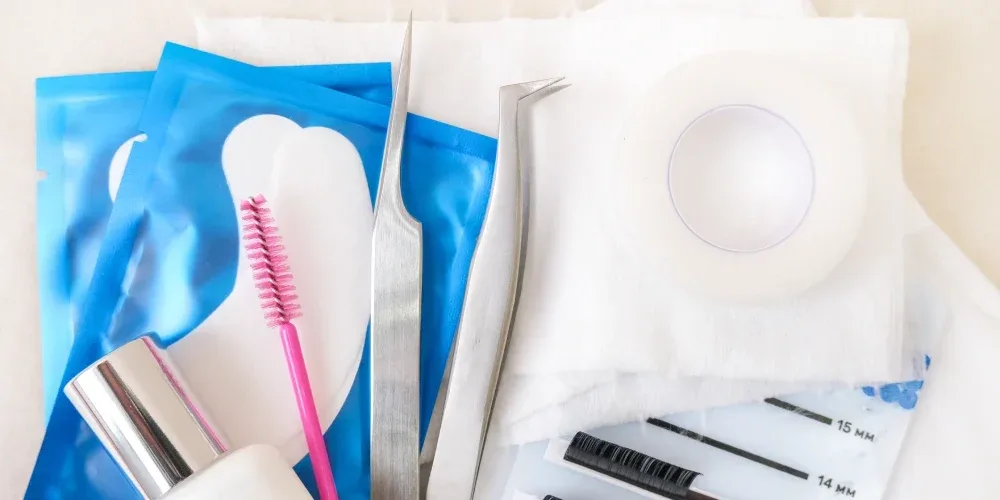
Tweezers. At least two – one for isolation and one for placement.
Lash Adhesive. A special Glue formula.
Artificial Lashes. In various parameters (read about eyelash materials separately).
Under-eye Pads & Tape. For isolating lower lashes.
Lash Cleanser & Primer (optional).
Spoolie Brush. For combing/checking.
Nano-Mister & Fan (optional). For curing the adhesive.
Bonder or Sealer (optional). For final fixation.

Aliz
11 years of experience
Note
The quality of tools and materials affects the result and safety.
What’s Important for You to Remember
The lash application process is a multi-stage, meticulous lash technician procedure requiring skill and precise lash application technique. Understanding the steps of the procedure allows the client to feel relaxed, knowing their beauty and comfort are in the hands of a professional.